


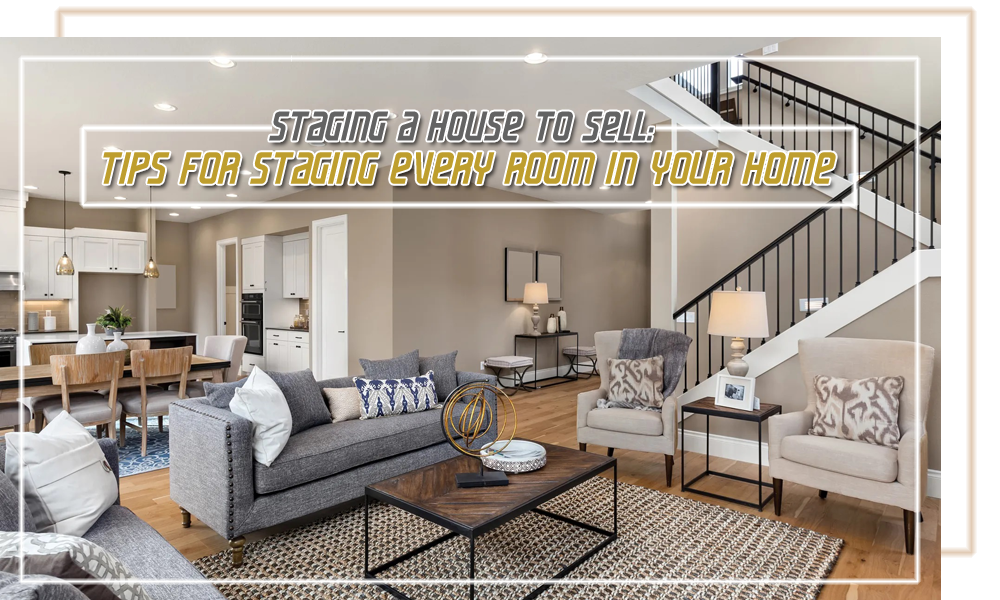
When it comes to selling your home quickly—and for top dollar—staging is one of the most powerful tools you can use. Professionally staged homes often sell faster and command higher prices because a well-presented space helps buyers visualize themselves living there. The goal of staging isn’t about decorating—it’s about strategically highlighting your home’s best features and creating an emotional connection with potential buyers.
Below is a full, room-by-room guide to help you stage your home like a pro.
Why Staging Matters
Before diving into each room, here are a few reasons staging works:
-
Increases perceived value: Buyers often assign higher value to homes that feel updated, clean, and move-in ready.
-
Creates mass appeal: Staging helps neutralize the space so more buyers can see themselves in it.
-
Highlights functionality: Proper staging shows how each space can be used effectively.
-
Improves listing photos: In the digital age, your photos are your first showing.
The Real Numbers Behind Home Staging
Here’s what surveys from the Home Staging Institute actually show:
- 77% of buyers find it easier to picture themselves in staged homes. When buyers can see themselves living there, they make offers faster.
- Average cost: 1–3% of asking price; staging vacant homes is more expensive than ones being lived in
- Price increase: the majority of agents agree that staging increases sale price by 1–10%; one in five buyer’s agents say 6–10%
- Speed increase: staged homes sell 73% faster than similar but unstaged homes (to help illustrate, this is the difference between selling in 90 days vs. selling in 24)
- Interest increase: listings of staged homes get up to 10% more views than unstaged homes
Let’s do some math. Spend $3,000 on staging a $300,000 home (1%). Sell for just 3% more ($309,000). $9,000 – $3,000 = a free $6,000 in your pocket.
The overwhelming majority of agents—more than 90%—say that staging helps you sell your home. Even the ones who don’t think it improves your sale price do think it helps you sell faster. And in a very real way, time is money when your home is sitting on the market.
Should You Stage Your Home?
Staging isn’t always the answer. Here’s when it makes sense and when to skip it.
Stage Your Home If:
- Your market is competitive with multiple listings sitting unsold. Staging helps you stand out when buyers have numerous options.
- Your home has been on the market for 30+ days without offers. Something’s not working. Staging might be the fix.
- You need to sell quickly. Staged homes spend less time on the market.
- Your home shows signs of “lived-in” wear. Clutter, outdated decor, and personal items turn buyers off.
- Comparable homes in your area are staged. You’re competing against those listings.
Skip Staging (Or Go Minimal) If:
- You’re in a red-hot seller’s market with bidding wars and homes selling in days regardless of staging.
- Your home is a fixer-upper being sold “as-is.” Buyers seeking a project have different priorities than those looking for a move-in-ready home.
- You have significant maintenance issues to address first. Putting a new rug and potted plants on a porch with a hole in it looks like misplaced priorities.
- Your budget is extremely limited. Deep cleaning is cheaper and still makes a big impact.
- Your home is already very well-maintained and well-decorated (according to your seller’s agent, not you).
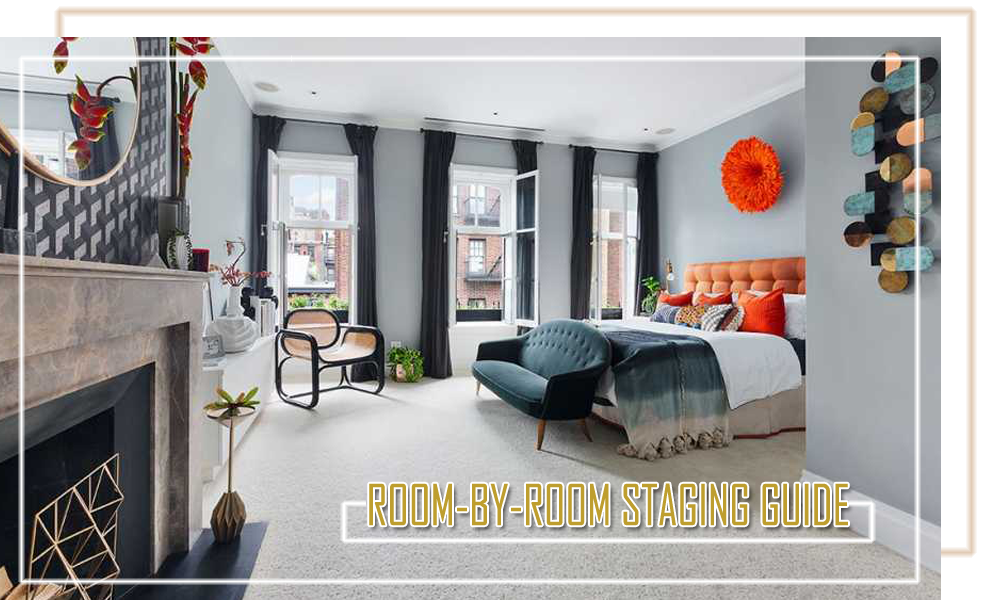
Home Staging 101: Room-by-Room Staging Guide
1. The Living Room
Your living room sets the tone for the entire showing experience.
Goals
Create a welcoming, warm, and open environment that feels spacious but comfortable.
Tips
-
Declutter aggressively—remove unnecessary decor, bulky furniture, DVDs, toys, etc.
-
Float furniture (pull sofas off the walls) to create conversation areas.
-
Use neutral colors for walls, rugs, and large furniture to appeal to the widest audience.
-
Add accent pillows, throws, and a modern art piece to create subtle pops of color.
-
Ensure optimal lighting: use lamps, open blinds, and replace dim bulbs.
-
Hide wires, remotes, and personal items.
2. The Kitchen
Buyers obsess over kitchens—they’re one of the most influential rooms in the sale.
Goals
Make the kitchen feel spotless, organized, updated, and functional.
Tips
-
Clear all countertops except 1–2 decorative items (fruit bowl, flowers, or a small appliance).
-
Deep clean everything—including grout, appliances, and cabinet fronts.
-
Replace outdated hardware with modern pulls/knobs for an inexpensive upgrade.
-
Organize inside cabinets—they will be opened.
-
Remove fridge magnets and personal notes.
-
Add a fresh plant or herb pot for a clean, natural feel.
-
Stage with small vignettes: cutting board + olive oil + cookbook.
3. The Dining Room
Your dining area should feel elegant and ready for hosting.
Goals
Create a sense of hospitality and spaciousness.
Tips
-
Use a simple centerpiece—flowers, greenery, or a bowl of lemons.
-
Set the table lightly (not a full formal setting—just plates and napkins).
-
Make sure the table is proportional to the room—not too big or too small.
-
Remove extra chairs to avoid overcrowding.
-
Add a rug to define the space if needed.
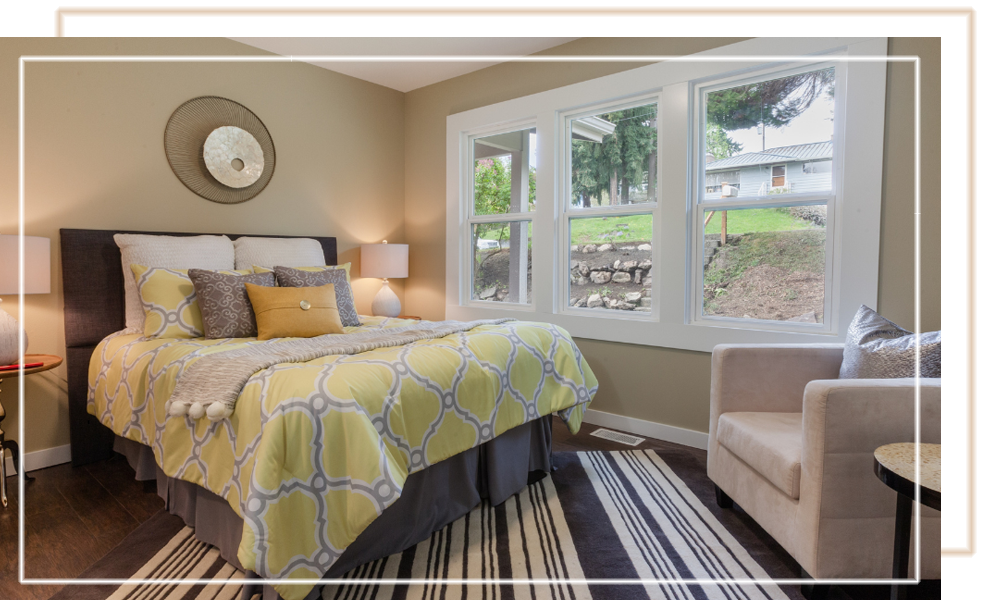
4. Primary Bedroom
This room needs to feel like a peaceful, private retreat.
Goals
Make the space feel luxurious, comfortable, and relaxing.
Tips
-
Use neutral bedding with layered textures (throws, pillows).
-
Remove personal items and photos.
-
Declutter nightstands—only lamps, a book, or a plant.
-
Ensure good lighting.
-
Organize closets—half-full closets create the perception of more space.
-
Add soft touches like a bench, rug, or artwork above the bed.
5. Secondary Bedrooms
These should feel flexible and functional.
Tips
-
If staged as kids’ rooms, keep themes minimal—avoid cartoon-heavy décor.
-
Convert unused rooms into a home office, guest bedroom, or reading nook.
-
Keep décor simple and universally appealing.
-
Ensure beds are neatly made with neutral bedding.
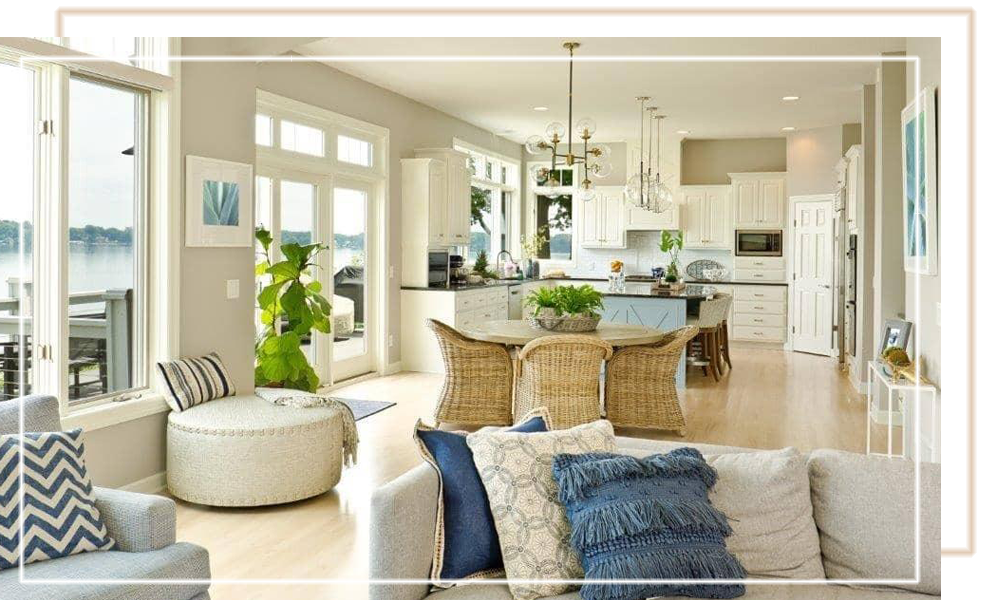
How to make your home show-ready
Transform every room in your home with proven staging tips that boost appeal, attract more buyers, and help your house sell quickly.
6. Bathrooms
Cleanliness is the most important factor—buyers expect bathrooms to feel fresh and hotel-like.
Goals
Create a spa-like environment.
Tips
-
Remove all personal items (toothbrushes, razors, toiletries).
-
Add white towels, a fresh shower curtain, and minimal décor.
-
Use matching soap dispensers instead of branded products.
-
Deep clean tiles, grout, mirrors, and fixtures.
-
Add a plant, candle, or rolled towels for a spa feel.
7. Entryway
The entryway is the first impression—make it count.
Goals
Make the space feel warm, uncluttered, and easy to navigate.
Tips
-
Add a mirror to reflect light and create a sense of openness.
-
Use a console table with minimal décor.
-
Keep the area free of shoes and coats.
-
Add a small plant or statement piece for visual impact.
8. Home Office
Work-from-home buyers are increasing—this room is a selling point.
Tips
-
Use a clean, modern desk setup.
-
Remove wires and clutter.
-
Add good lighting and a comfortable chair.
-
Include plants or wall art for personality.
-
Make the space feel uplifting, organized, and functional.
9. Outdoor Spaces
Exterior appeal often seals the deal.
Goals
Showcase your yard, patio, or balcony as an extension of the living space.
Tips
-
Add seating—chairs, fire pit, or bistro table.
-
Clean landscaping: trim trees, mow grass, remove weeds.
-
Add a welcome mat and potted plants at the entrance.
-
Power-wash driveways, decks, and siding.
Maximize Your Curb Appeal: The 7-Second Test
Your home’s exterior creates the first impression. Buyers decide in 7 seconds whether they like your house. That’s barely enough time to park the car.
And in today’s digital age, virtually every homebuyer browses listings online. Your exterior photos matter as much as your interior ones—or more, considering your first image is probably an exterior shot. If your curb appeal looks dated or messy, buyers scroll past without scheduling a showing.
Quick Ways to Boost Curb Appeal
- Power wash siding, driveway, and walkways. Rent a pressure washer for $50–$80 per day. The difference is dramatic.
- Paint or stain the front door. Navy, charcoal, or sage green are popular choices that look fresh and modern.
- Replace dated house numbers and mailboxes. Spend $50 at the hardware store for an instant update.
- Add potted plants or flowers. Even in winter, evergreens in large planters flanking the door add a nice pop of color.
- Mow the lawn, edge flowerbeds, and lay fresh mulch. Fresh mulch costs about $30 and makes landscaping instantly look more professional. If it’s fall, make sure at least the walkways and porch are clear of leaves. If you’re selling in the snow, make an effort to stay off it and keep the surface pristine.
- Clean or replace outdoor lighting fixtures. Good lighting makes your home feel welcoming and safe.
- Remove yard clutter like hoses, toys, and tools. Everything should be stored away before showings.
- Replace the worn welcome mat. Sounds small, but it’s the last thing buyers see before entering.
Home Staging on a Budget: High-Impact, Low-Cost Tricks
Not everyone can afford a $5,000 professional stager. Here’s what works without breaking the bank.
Under $50:
- Floral arrangements or plants ($20–$30)
- New throw pillows in neutral colors ($30–$40)
- Updated light bulbs—warm white, matching throughout ($20)
- Fresh door mat ($15–$25)
- Cleaning supplies for deep clean ($30–$40)
Under $200:
- Paint one accent wall or front door ($30–$50)
- Replace dated cabinet hardware ($50–$150)
- New bathroom faucet ($80–$150)
- Neutral shower curtains and towels ($40–$60)
- Area rug to define space ($50–$150)
Under $500:
- Professional deep cleaning service ($200–$400)
- Pressure washing exterior ($100–$200)
- Fresh interior paint, DIY ($150–$300)
- Closet organization systems ($100–$200)
- Updated light fixtures in key rooms ($200–$400)
Home Staging Mistakes That Cost You Offers
There are many mistakes you can make when selling a home, and some are related to staging.
Mistake #1: Over-Personalizing
Potential buyers can’t see past your family photos, bold paint choices, and unique collections.
Fix it: Pack personal items, neutralize colors, and create a blank canvas buyers can picture themselves in.
Mistake #2: Blocking Natural Light
Dark homes feel smaller and less inviting. Heavy curtains and closed blinds make spaces feel cramped.
Fix it: Open all blinds, remove heavy curtains, strategically add mirrors, and update to warm white light bulbs.
Mistake #3: Ignoring Odors
You’re nose-blind to pet, cooking, or musty smells. Buyers aren’t. They notice immediately.
Fix it: Deep clean carpets, eliminate the source, open windows for fresh air, and skip strong air fresheners that suggest you’re hiding something. When possible, avoid cooking before a showing and temporarily re-home pets.
Mistake #4: Leaving Rooms Empty
Empty rooms actually appear smaller because buyers can’t accurately judge the scale. They also struggle to picture the optimal ways to use the space.
Fix it: Add minimal furniture that shows the room’s purpose and helps buyers understand the size.
DIY Staging vs. Hiring a Professional
DIY Staging
Best for: Occupied homes, tight budgets, homes already in good condition
Pros: Lower cost, you control the timeline, and it works with your existing furniture
Cons: Hard to be objective about your own space, time-consuming, requires design skills you might not have
Cost: $0–$500 (just supplies and updates)
Professional Staging
Best for: Vacant homes, difficult-to-sell properties, luxury listings, competitive markets
Pros: Expert eye for design, furniture rental included, proven results, stager handles everything
Cons: Higher upfront cost ($1,500–$7,000), less control over the aesthetic, furniture rental period limits
Cost: $1,500–$7,000 depending on home size, scope, and staging duration
Virtual Staging
Best for: Vacant homes, improving online listing photos, tight budgets
Pros: Very affordable ($25–$150 per photo), perfect for online listings, quick 24-hour turnaround
Cons: Doesn’t help in-person showings, must disclose photos are digitally staged, can feel misleading if overused
Cost: $25–$150 per room
Staging While Living in Your Home: Yes, It’s Possible
Many sellers can’t move out before listing. Here’s how to stage while still living there.
Create a Daily Routine
- Make beds every morning, hotel-style, with smooth covers and arranged pillows.
- Clear kitchen counters after every meal. Put everything back in the cabinets or the pantry.
- Put away toiletries after use. Under the sink, in drawers, anywhere but on the counter.
- Quick wipe-down of bathrooms daily. Keep surfaces shiny and dry.
- 10-minute pickup before bed. Put away shoes, fold blankets, clear mail and paperwork.
Prepare a “Showing Kit”
Keep these items ready for last-minute showings:
- Cleaning supplies for quick touch-ups
- A subtle air freshener
- A lint roller for furniture
- Fresh towels
- Backup hiding spots for daily items
- A catchall basket you can take with you in the car
Set Boundaries
Designate “staged” rooms that stay perfect: living room, primary bedroom, kitchen, and main bathroom.
Keep “lived-in” areas more relaxed, such as the family room, kids’ rooms, and laundry areas.
Store daily-use items in closets or drawers where buyers won’t immediately see them. (They still will—buyers poke around everywhere—but it won’t affect their first impression.)
Have a plan for pets during showings. Board them, take them with you, or arrange for a friend to watch them.
The 15-Minute Showing Prep
When you get a last-minute showing notice, focus on these high-impact tasks:
- Open all curtains
- Turn on all lights (yes, even in the middle of the day)
- Make beds
- Clear kitchen and bathroom counters
- Put away pet items and bowls
- Wipe down mirrors and faucets
- Do a quick vacuum of high-traffic areas
- Set a comfortable temperature
Create a checklist and tape it to the front door so you see it on the way out. Helps ensure you remember everything, even if you panic a little.
Your Staged Home Sells Faster
Here’s what you need to remember for your home sale:
- A well-staged home helps buyers envision the space as their future home, not your home. The statistics prove it works.
- Start with the non-negotiables: declutter ruthlessly, deep clean everything, depersonalize completely, and neutralize bold colors.
- Focus your effort on high-impact rooms. The living room, kitchen, and primary bedroom are the most common rooms to stage for good reason.
- Budget-friendly options exist for every seller. Even free tactics like rearranging furniture and opening curtains make a difference to potential homebuyers.
Ready to sell? Start by decluttering this weekend. Then deep clean. You’ll be amazed at how different your home looks—and how quickly buyers respond.
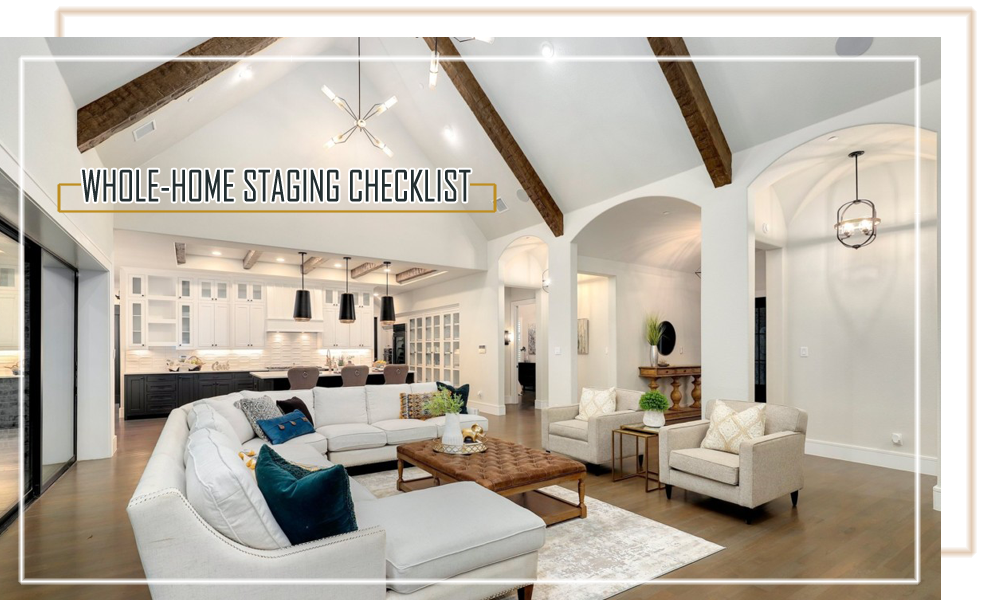
Whole-Home Staging Checklist
General Principles
✔ Declutter every room
✔ Remove personal photos
✔ Deep clean all spaces
✔ Use neutral colors
✔ Add greenery and plants
✔ Maximize natural light
✔ Depersonalize but don’t sterilize
✔ Repair minor issues (holes, scuffs, loose knobs)
✔ Hide storage overflow
Final Thoughts
Staging your home doesn’t have to be expensive—small, strategic changes can make a massive difference in a buyer’s perception of the property. The goal is to create a space that feels light, bright, functional, and easy to imagine living in.
Whether you’re preparing for an open house or a photo shoot, staged homes consistently outshine unstaged properties—leading to faster sales and stronger offers.
Selling Your Home Faster With Staging
YOU run the deal — we just fund it.
From the kitchen to the bedroom, learn how to stage every room in your home with simple, effective tips that make spaces feel cleaner, larger, and more inviting to buyers. Boost your home’s appeal with JCREIG Capital Funding’s expert staging tips. Learn how to prepare every room to sell faster and attract top-dollar offers.
👉 Submit a deal for review.
or reach out to us @ 561-303-0334 if you require funding or have any questions.
